



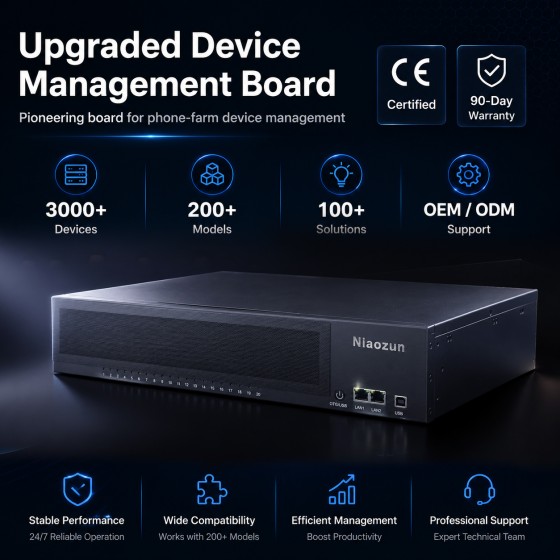
ArmPilot Control: A platform for robotic arms to control mobile phone screens.
.png)
### I. Core Positioning
Industrial-grade robotic arms can typically only execute fixed-coordinate commands. When faced with scenarios where screen icon positions vary depending on the phone model, resolution, and layout, traditional solutions require manual calibration for each phone, a tedious and fragile process. ArmPilot Control solves this problem:
To enable robotic arms to "do things while looking at a screen," just like human operators.
It transforms the robotic arm into an automated operator equipped with a camera and stylus—the camera is the eye (to see), the AI model is the brain (to think), and the robotic arm is the hand (to do). Users no longer need to fill in pixel coordinates or script steps; they only need to tell the software, "Open Baidu search and log in," and it will look, judge, and click automatically.
Software download link: https://mega.nz/folder/wFRUAAyT#_K6jVFwNGdvXFXvPAj3gCA
.png)
### II. Functional Overview 1. Devices and Connections
- Supports multi-robotic arm management (multiple devices can be controlled by the same software, with independent configurations).
- Automatically recognizes USB serial ports (CH340/CH341 drivers are included in the installation package)
- Automatically restarts stopped JxbService drivers; no manual intervention is required for the first connection after a system reboot.
- Provides a one-click driver installation button; ordinary users can complete the process via a graphical interface. 2. Slot Setup
- Global calibration completed in one step: image centering, stylus offset, and 50mm ruler alignment.
- For each camera position, only the image center needs to be selected once more to fully derive the remaining parameters.
- The camera supports AF/EXP/resolution/landscape/portrait switching.
- AI Automatic Calibration: Clicking a button activates a robotic arm that scans the global motion envelope in 50px steps. The AI automatically identifies the number of phones and creates camera positions for each, filling in screen boundaries, keyboard area, navigation key coordinates, and system type. 3. Manual Test
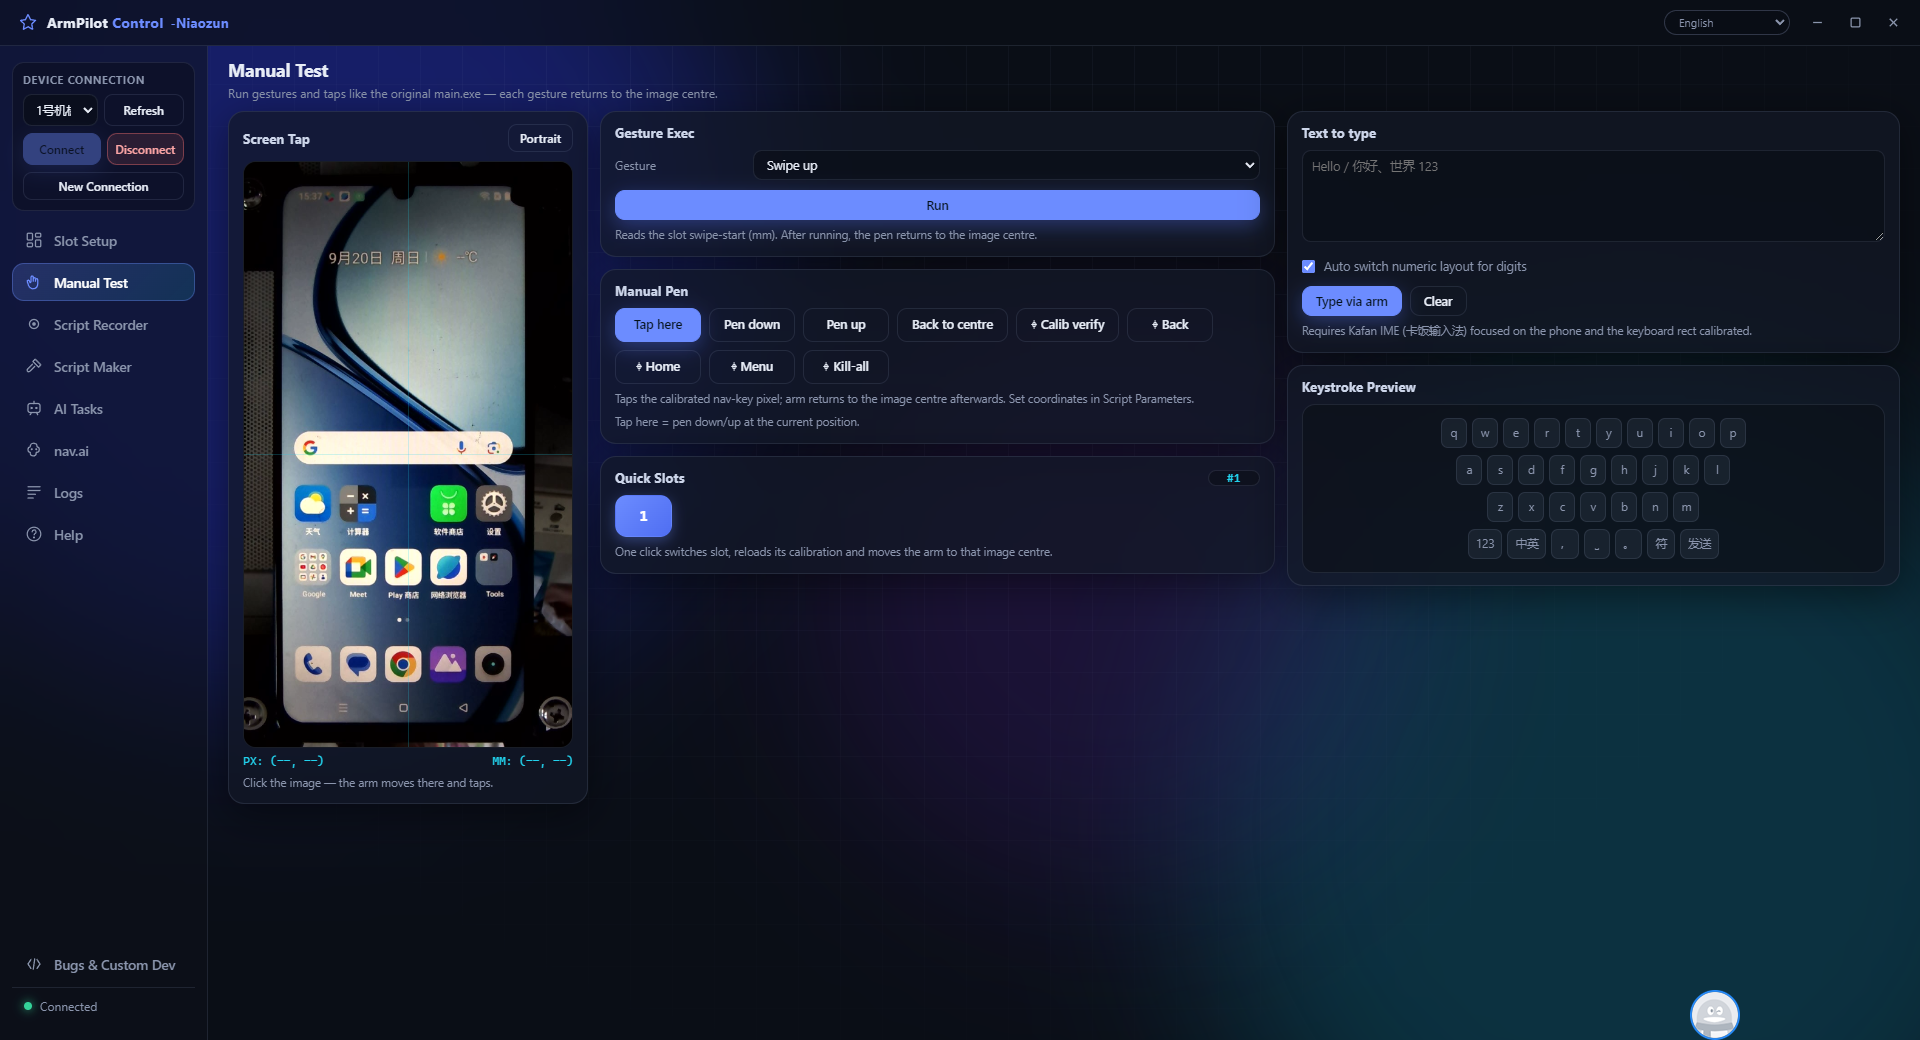
- The Jog control panel precisely controls the XY movement of the robotic arm (0.1/0.5/1/5mm steps).
- Pen down / Pen up / Click / Home shortcuts
- The screen displays PX (pixels) and MM (robotic arm coordinates) in real time.
- Left-click to adjust, right-click to drag strokes
- Switching to different camera positions, the robotic arm automatically returns to the center of the corresponding image. 4. Script Recorder
- Once recording starts, clicks/swipes on the screen are automatically recorded as script steps.
- Supports playback and speed adjustment (0.5× / 1× / 2×)
- The script is shared by all robotic arms after it is saved.
- Recording mode distinguishes between single-click/double-click; pressing and dragging are automatically recorded as sliding. 5. Script Maker
Orchestrate rich automation processes from scratch:
- Tap/Long press/Slide/Enter text/Navigation keys/Wait
- Image search/text search (OCR + full-frame/region search strategy)
- Conditional branching / Looping / Setting variables
- AI Automation Steps: Insert an "AI Automation" node into the script, fill in the natural language target, and when the script reaches this node, the AI will automatically complete visual recognition → sequential action → feedback loop.
- The execution process can be paused/resume, and the running log is output in real time. 6. AI Vision Tasks
This is the core fully automatic mode—the user only needs to write one sentence:
Open your text message and send "1234" to 10086.
The software executes automatically:
1. Visually identify the positions of all icons on the current screen.
2. AI determines where the "Messages" icon is and decides which one to tap.
3. Click, wait for the page to load.
4. Re-identify the current screen
5. AI determines "where the input box is and where the send button is".
6. Execute round by round until the AI determines the task is complete.
Each round of AI can see the latest screen display and supports multiple rounds of feedback (it can self-correct if it makes a mistake). A maximum number of rounds can be set to prevent it from freezing.
7. AI Configuration (nav.ai)
- Dual vendors can be configured independently, and switching between them is ready to use:
- Google Gemini (overseas): gemini-3.6-flash, etc.
- Alibaba Cloud Qwen-VL (Direct connection within China): qwen3-vl-flash
- Each API Key/Model/Base URL is stored independently and does not affect others.
- Temperature adjustment is supported (0-2, 0.2 recommended).
- Test connection button automatically diagnoses account availability and model list
- All keys are stored only in localStorage and are not uploaded to any third-party databases. 8. Multilingual and Internationalization
- The interface supports one-click switching between 11 languages (Chinese/English/German/Spanish/French/Indonesian/Italian/Japanese/Korean/Russian/Thai).
- Default is English, perfectly suited for international users. 9. Logs and Help
- Real-time display of runtime logs (can be copied and cleared)
- Includes complete user help documentation, covering every function page.
- Bug feedback and custom development portal (Bugs & Custom Dev)
.png)
### III. Typical Application Scenarios
1. Automated Testing: Batch verification of UI operation processes ("Login → Browse → Place Order"), with higher test coverage and unattended operation.
2. Batch content processing: Mass messaging to accounts, replying to App Store reviews, and scheduled interactions on social media platforms.
3. Remote control assistance: Transforming a physical robotic arm into a remotely accessible virtual finger.
4. Teaching Demonstration: Visually demonstrate on the screen how the robotic arm "understands" and performs operations.
### IV. Installation and Getting Started
1. Double-click to run the installation package `ArmPilot Control Setup 2.0.0.exe` and select the installation directory.
2. After starting, click the "Install Driver" button on the left (only once).
3. On the AI configuration page, select Google or Qianwen, enter the API Key, and click Test Connection + Save.
4. Return to the camera position settings page and click "Start AI Automatic Configuration" (or manually complete the global calibration and create a new camera position).
5. Click Connect to start controlling the robotic arm using one of the three modes: manual testing, script, or AI task.
System Requirements: Windows 10/11 (64-bit), available USB serial port, network (for accessing cloud AI)
.png)
-560x560.png)
-560x560.png)